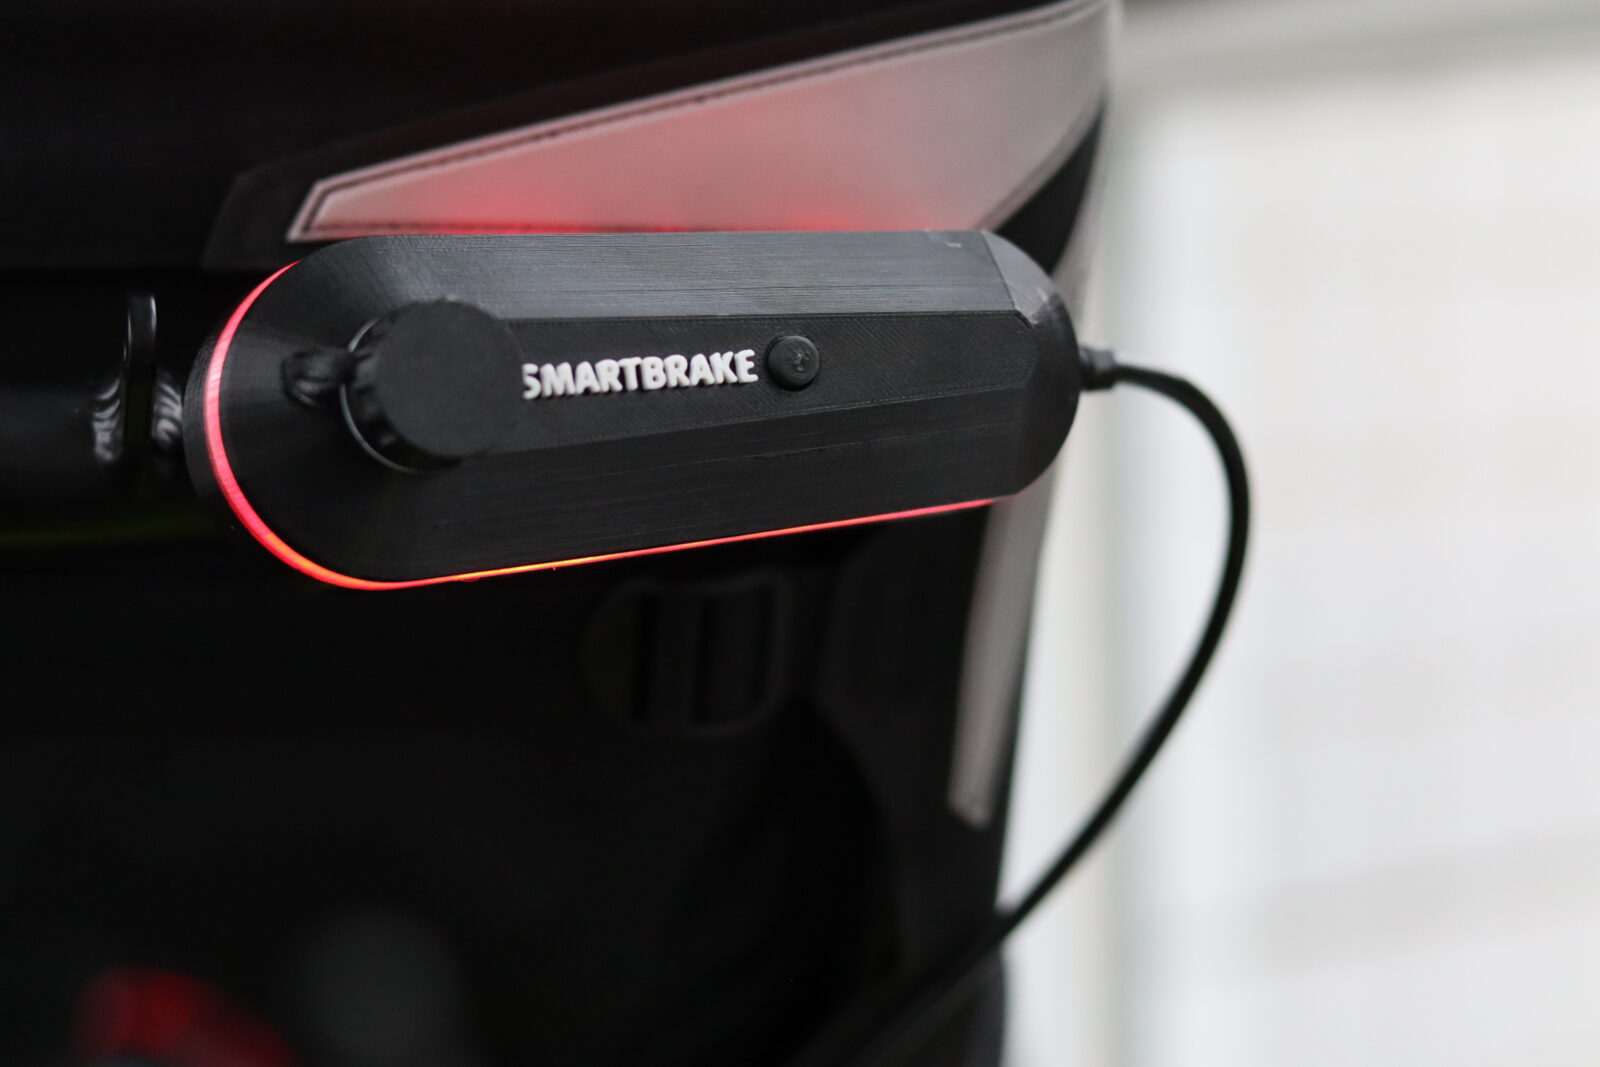
1. Package contents
Upon receipt of the SmartBrake kit, check that the following parts are included:
- SmartBrake brake lever(s)
- Brake sensor(s)
- Wireless companion control (if included)
- Fasteners and cables
- Loader
- Instructions for use
2. Installation
2.1 Installing the brake lever
- Attach the SmartBrake lever to the handlebar using the supplied brackets.
- Adjust the position so that the user can easily reach the handle.
- Tighten the fixing screws carefully.
2.2 Connection to the braking system
- Connect SmartBrake to the bike's original hydraulic brake.
- Check that the brake sensor is fitted correctly.
- Perform a test by squeezing the lever and checking that the brake is activated.
2.3 Installation of wireless companion control (if included)
- Attach the control to the desired location for the attendant.
- Pair the devices by following the instructions in the user manual.
3. Use of SmartBrake
3.1 Brake functions
- SmartBrake has five brake levelswhich is activated gradually by pressing the lever.
- The brake is activated with a light touch and without the need for heavy manual labour.
- For companions, wireless control can be used to assist with braking.
3.2 Parking brake
- Press the lever and hold for 3 seconds.
- The brake is locked automatically.
- To deactivate, lightly press the lever again.
4. Adjustment and customisation
- If the user experiences too abrupt or weak brakingthe sensitivity can be adjusted in the software.
- For customised solutions, including 3D printed customisations, contact SmartGroup.
5. Maintenance
- Charge the battery regularly for optimal performance.
- Clean the lever and the sensors with a dry cloth.
- Check fixing screws and connections at regular intervals.
6. Support and contact
Do you have questions or need help? Contact us at [SmartGroup contact details] for guidance or technical support.
HSE number for different layouts can be found in the enclosed product catalogue.


