


This guide is for technicians, dealers, installers, and advanced users who need to prepare a SmartBrake system for safe delivery.
It covers :
- identifying the setup
- installing the brake system
- mounting the SmartBrake unit
- mounting the controllers
- pairing if needed
- adjusting the brakes
- final inspection before delivery
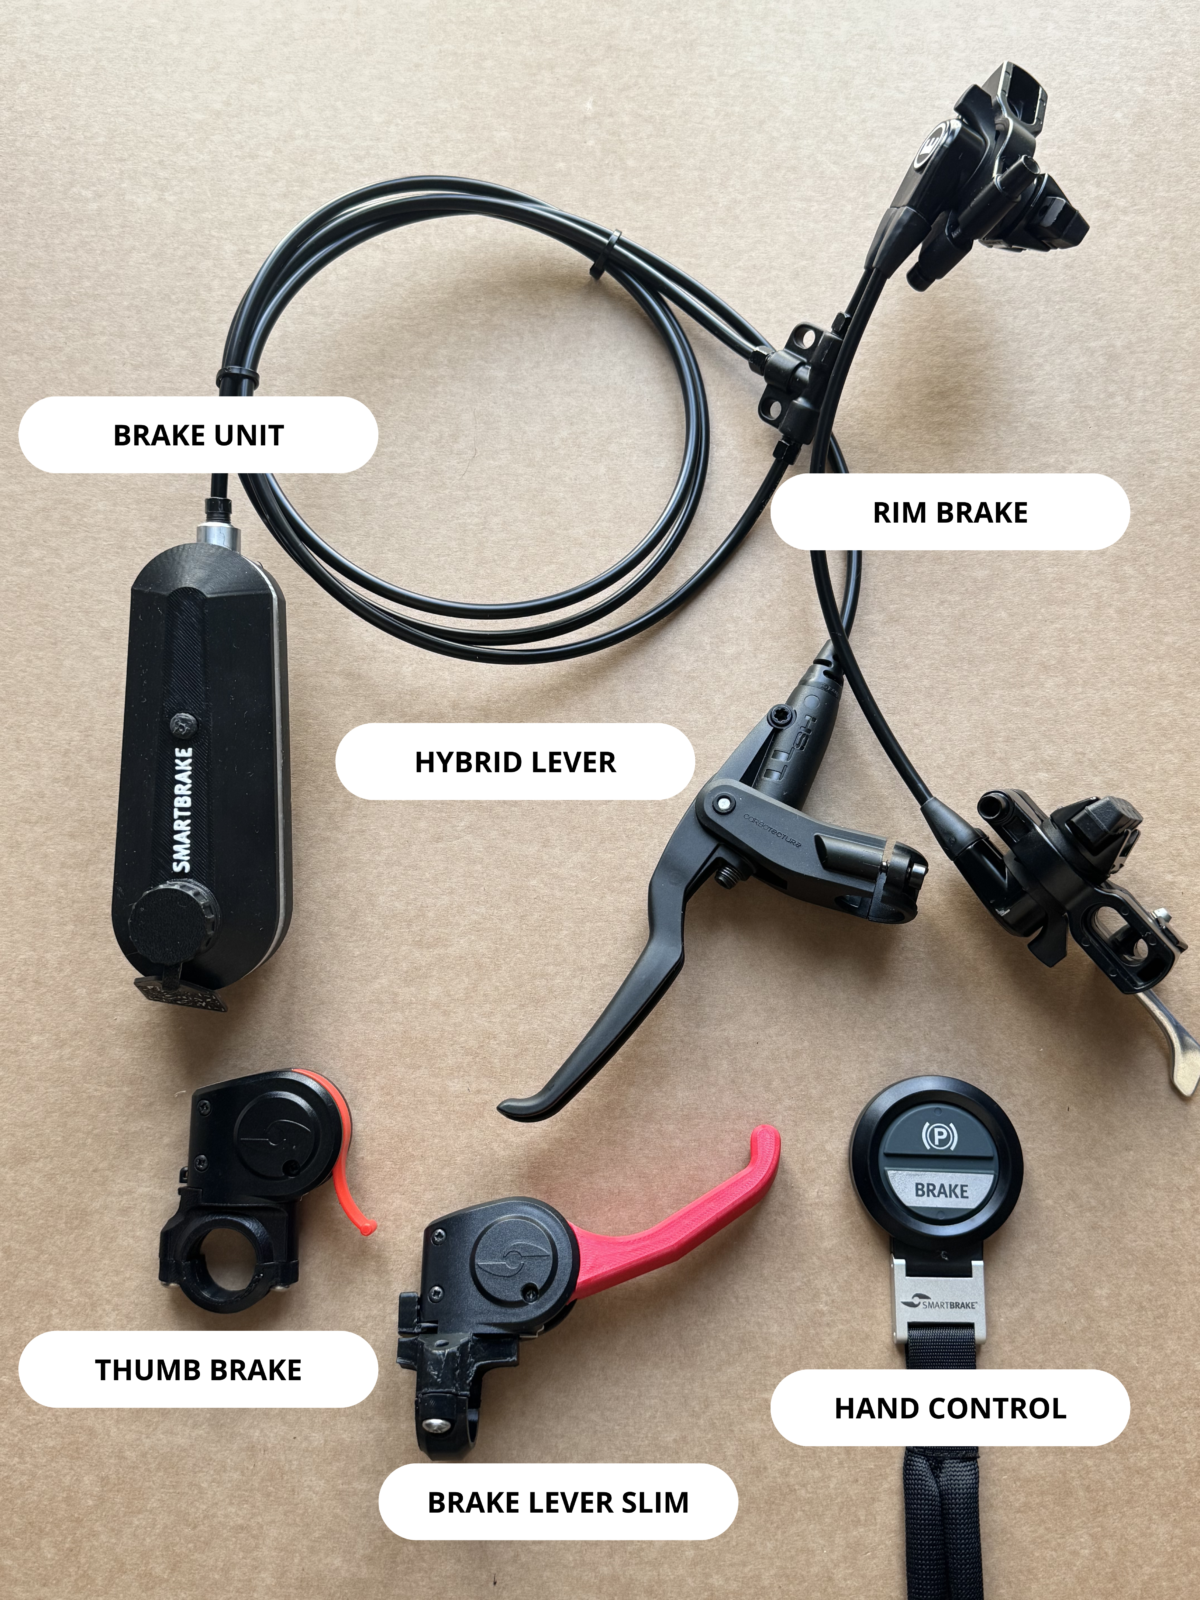
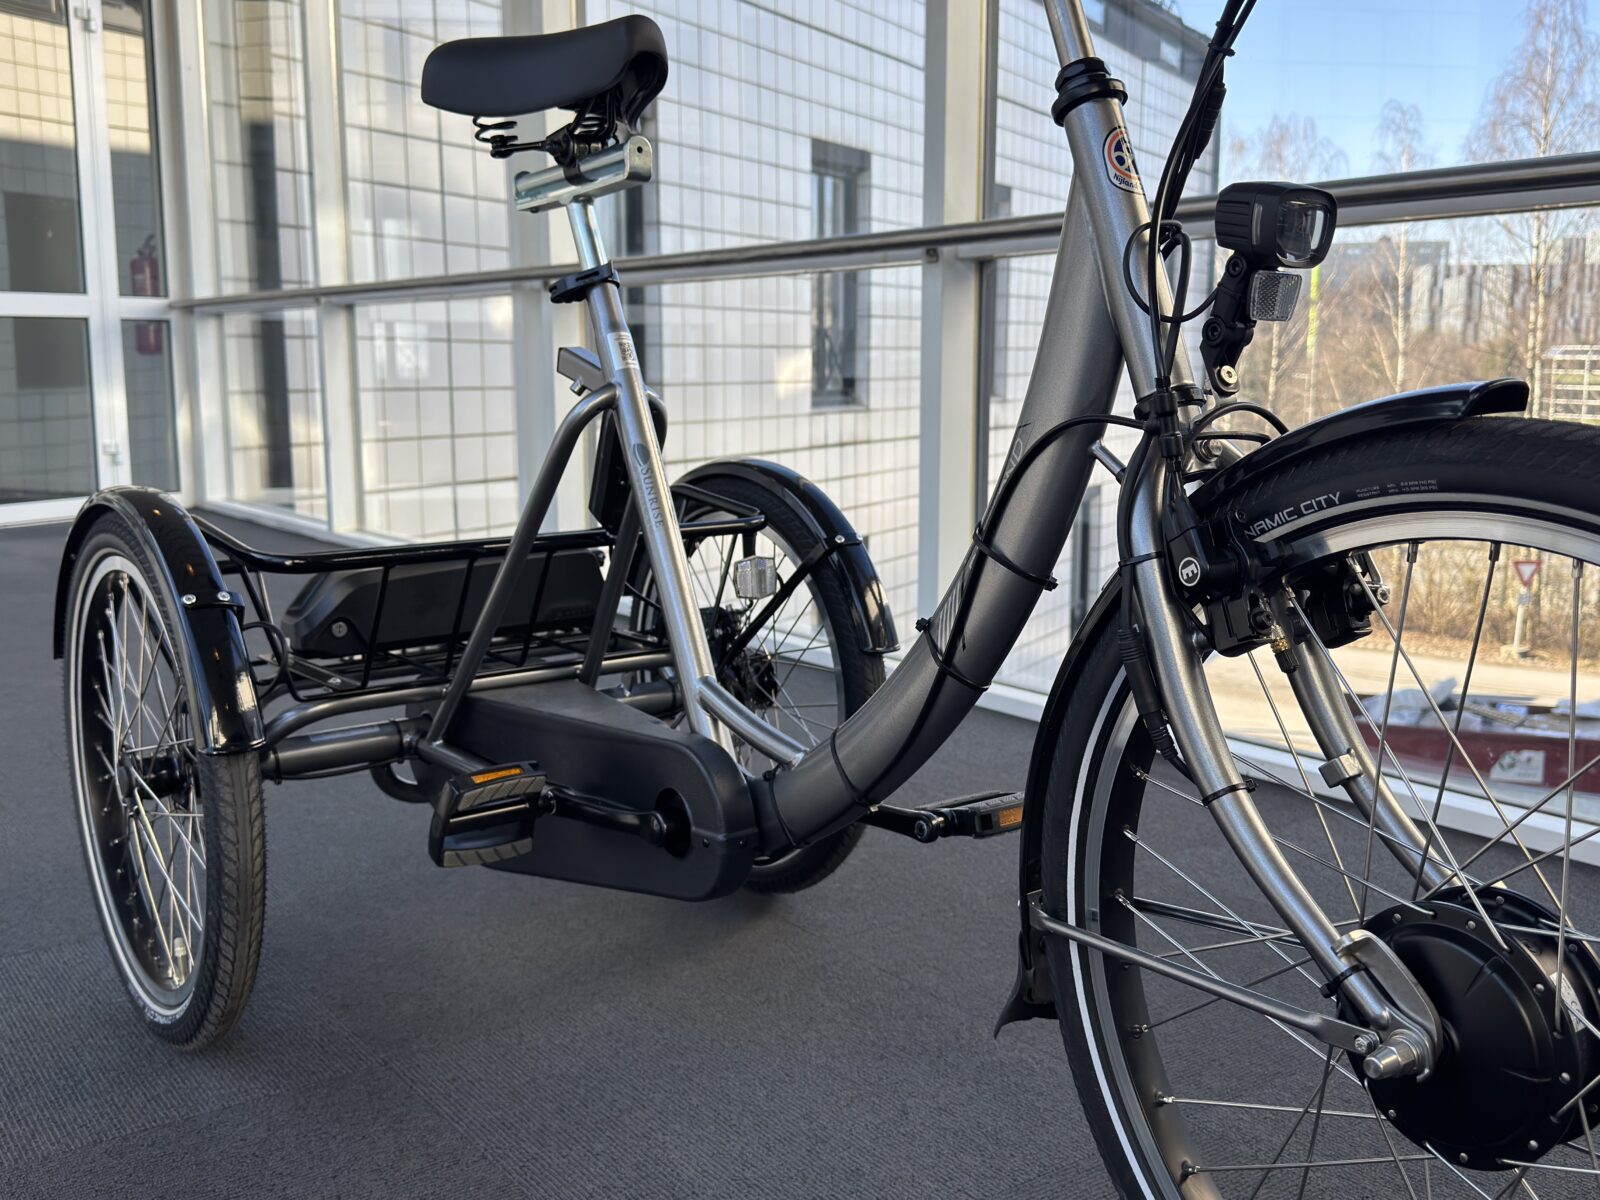
1. Identify the SmartBrake setup
Before you start, you must confirm:
- Hybrid or Wireless
- Rim, Single Disc, or Twin Disc
- which controllers are included
Hybrid or Wireless
If the package includes a physical brake lever connected to the SmartBrake brake unit, it is a Hybrid system. If the setup uses only wireless controllers, it is a Wireless system.
Rim or Disc
If the brake acts directly on the rim, it is a Rim setup.
If the brake uses a brake disc, it is a Disc setup.
Single Disc or Twin Disc
One caliper = Single Disc.
Two calipers = Twin Disc.
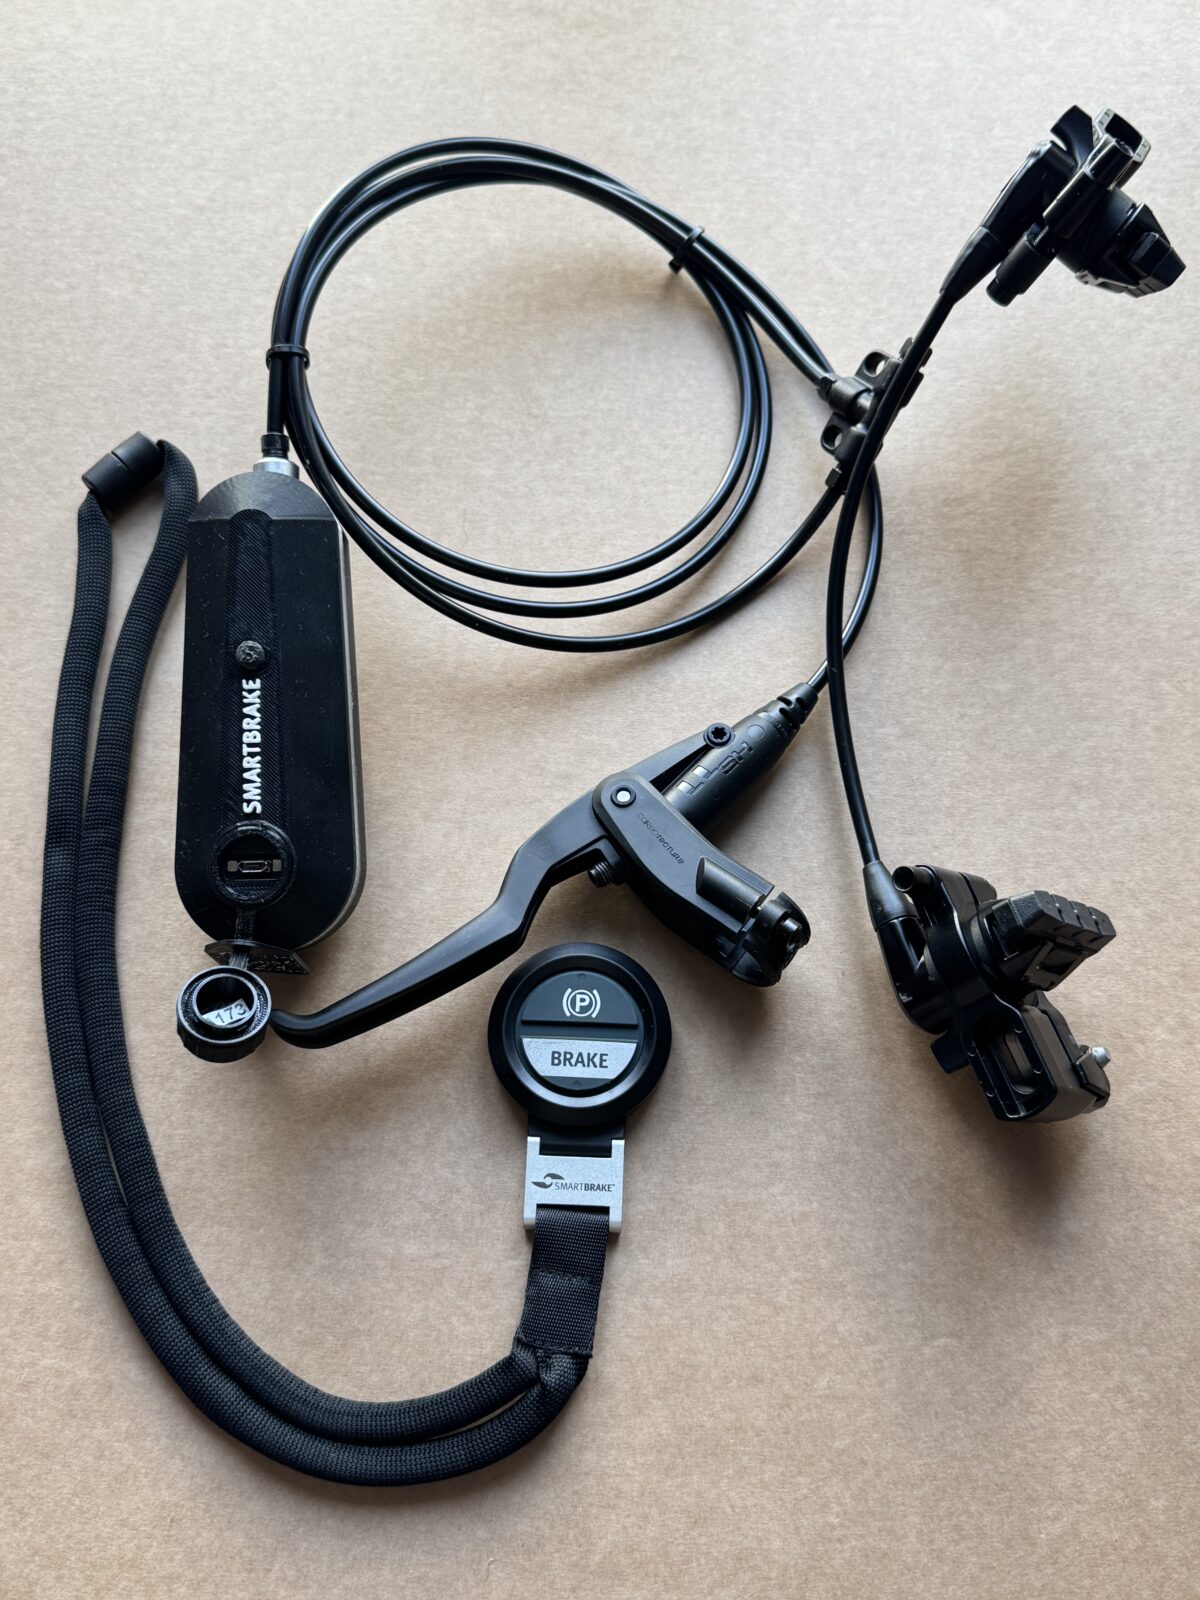
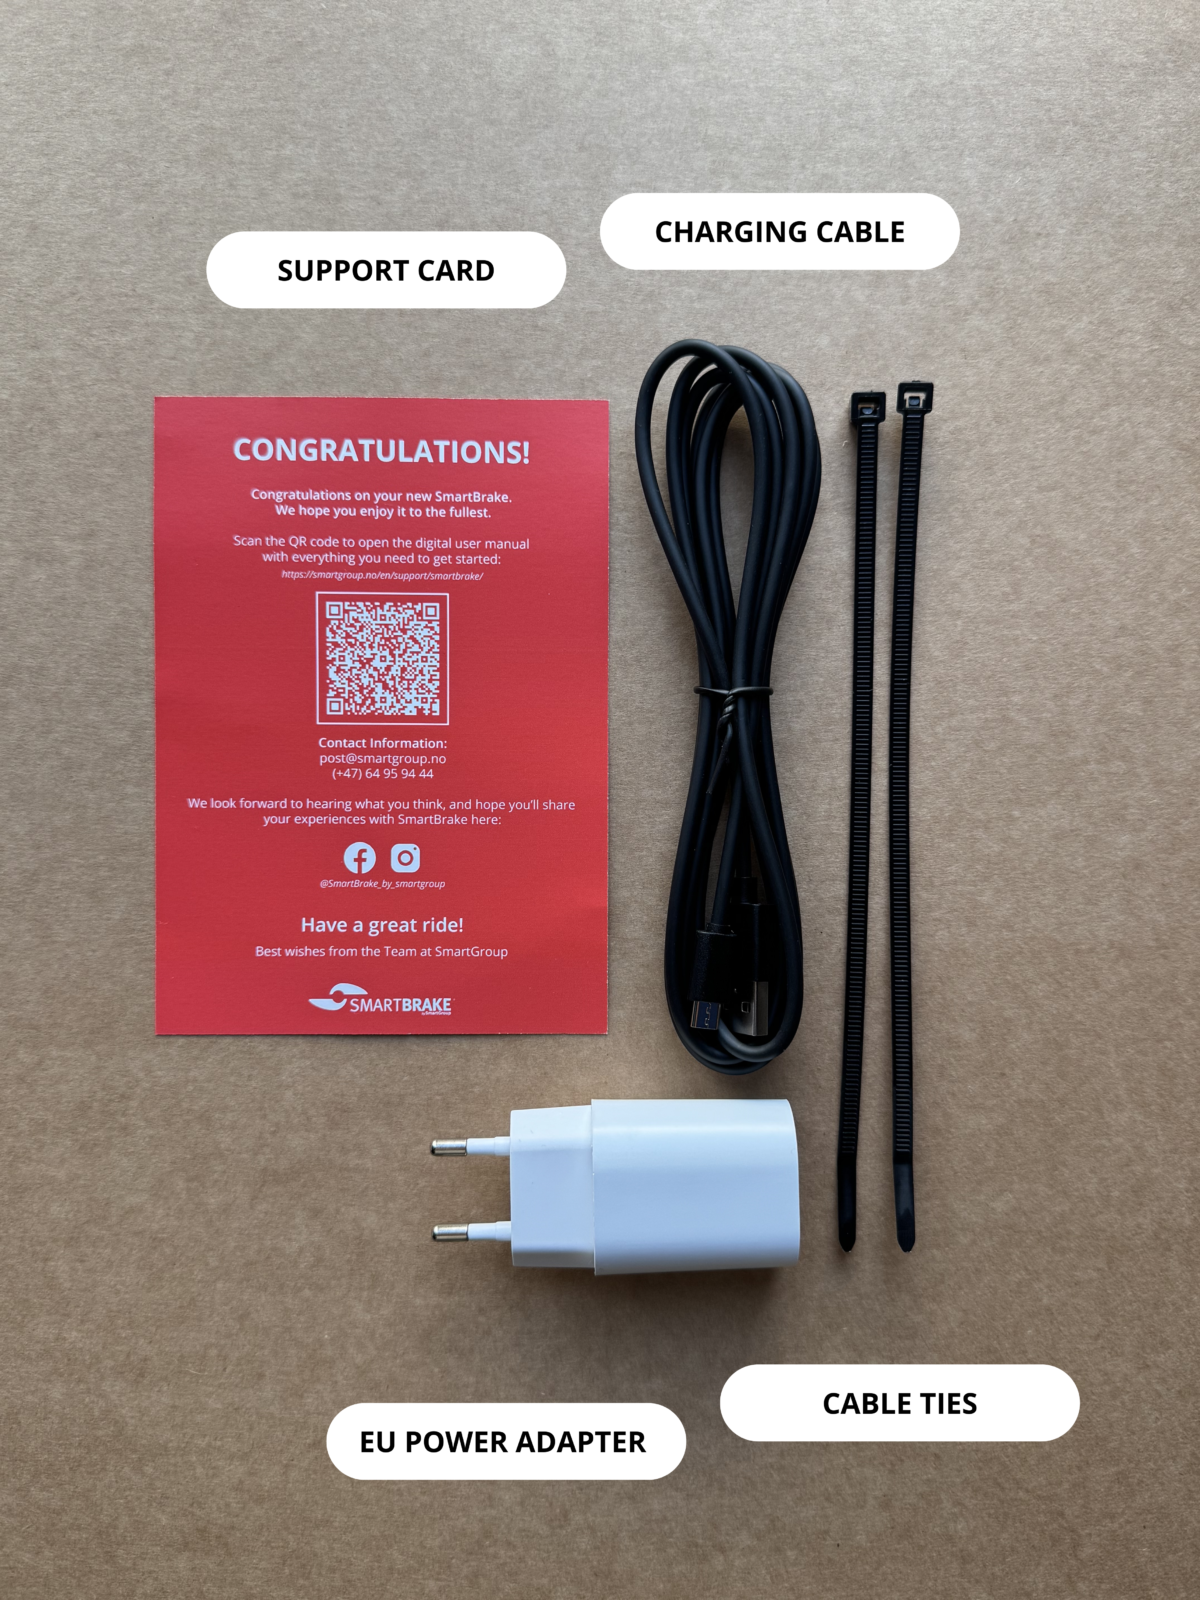
2. Check all parts
Unpack the system and make sure all relevant parts are included before starting the installation.
3. Prepare the bicycle
Remove the existing brake system that SmartBrake will replace.
Keep track of the parts that are removed, and check that the mounting points are compatible before continuing.
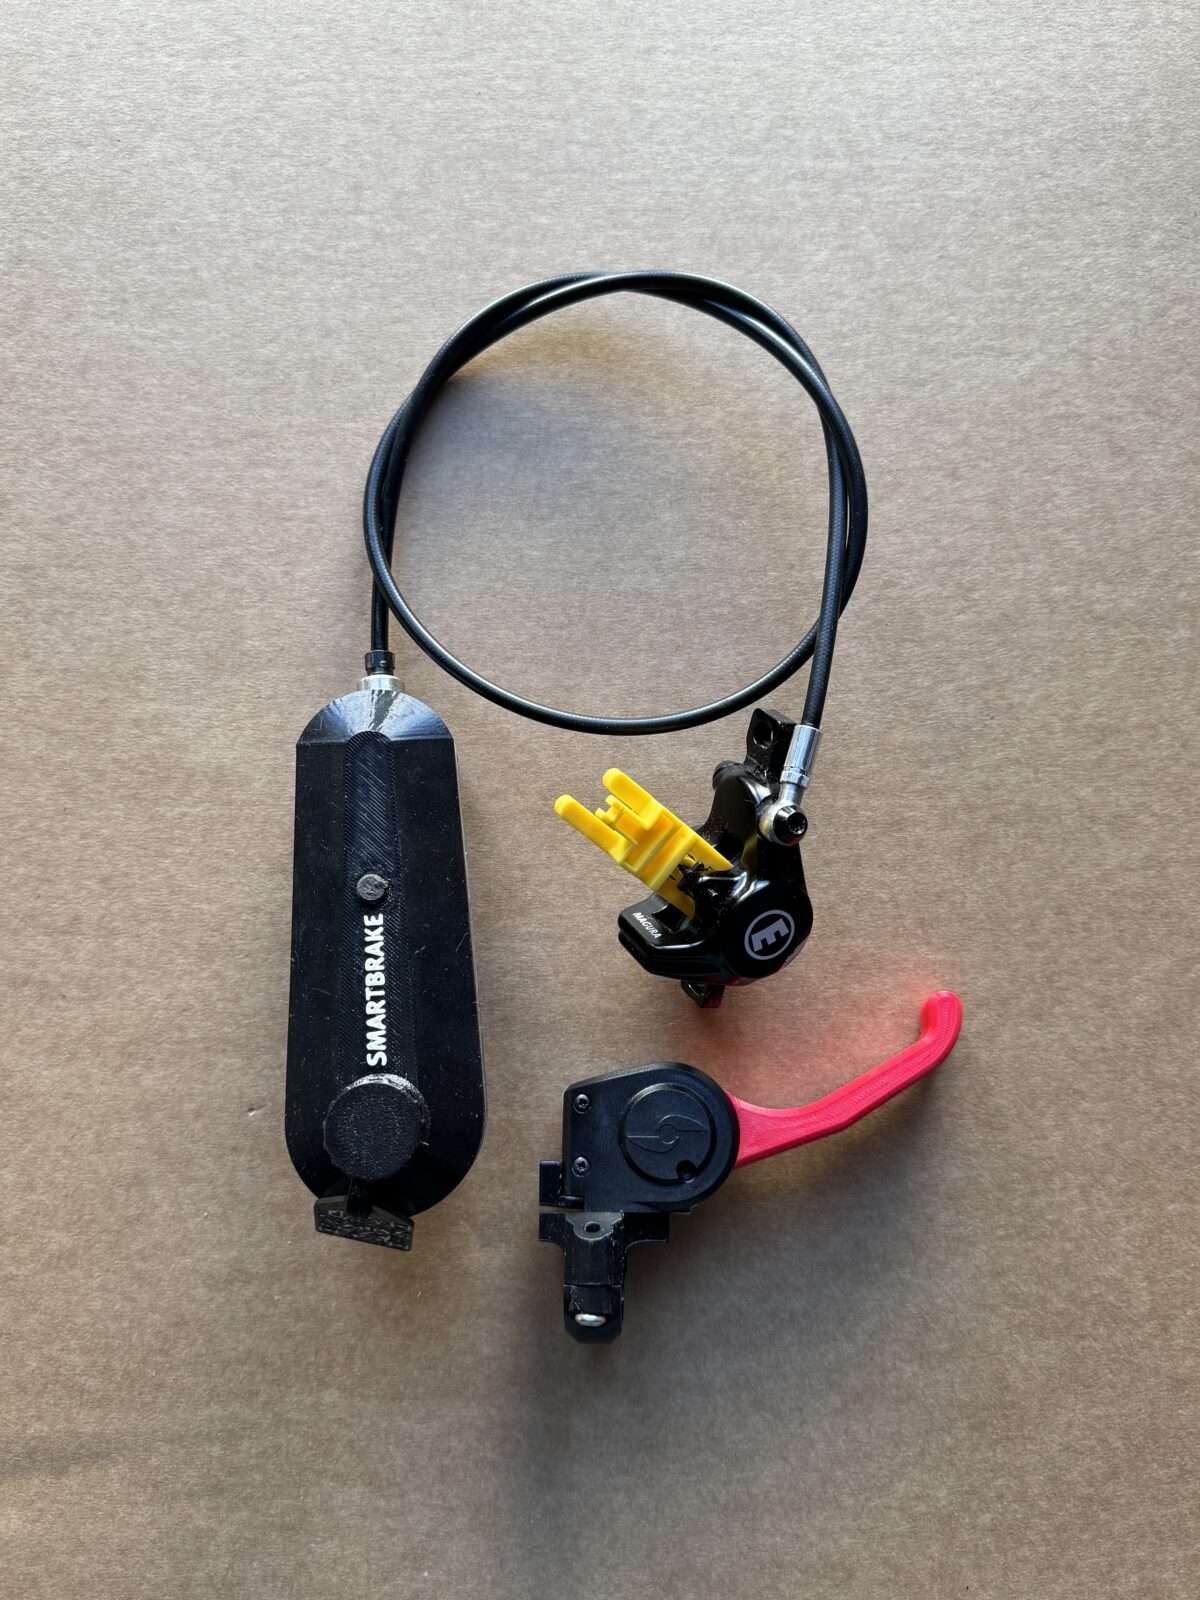
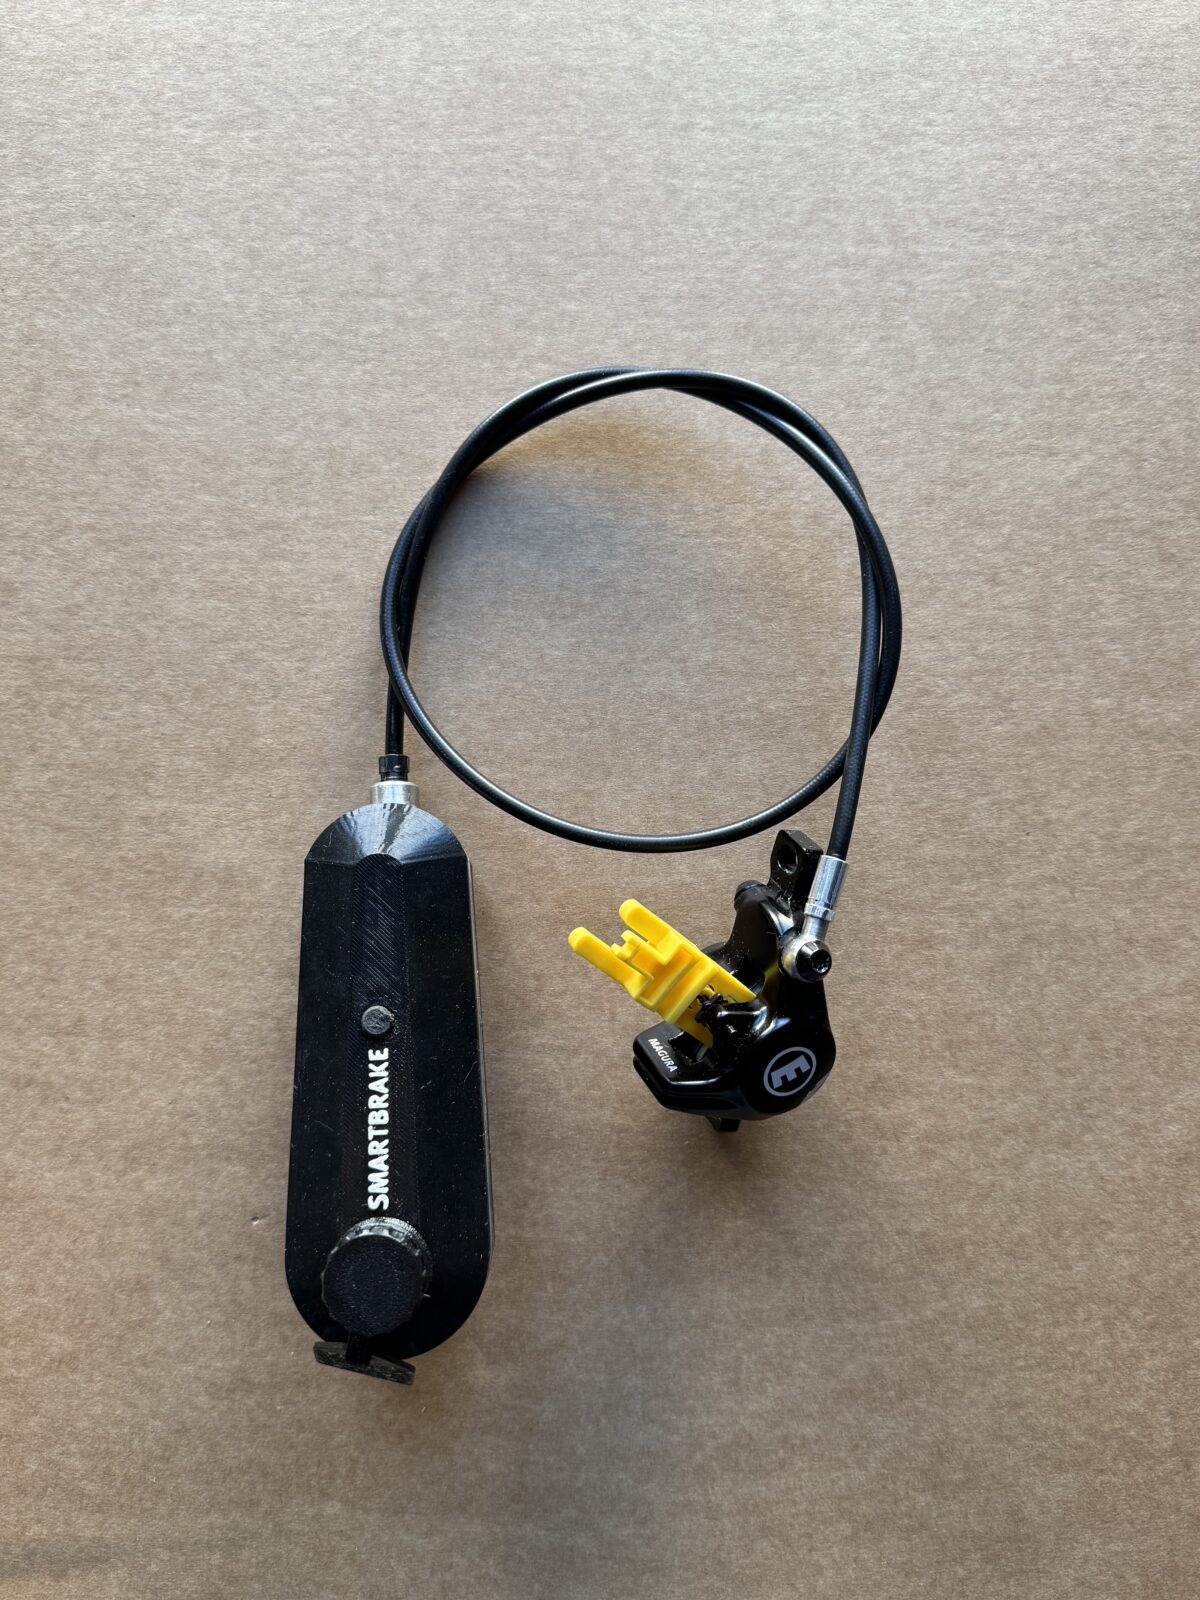
4. Install the SmartBrake brake system
Install the brake system included for the correct setup:
- Rim
- Single disc
- Twin disc
- Hybrid lever if included
Plan the routing of the hydraulic hose before fastening everything permanently.
Routing tips
- follow the frame as closely as possible
- avoid sharp bends
- avoid moving parts
- avoid interference with steering
- avoid loose outer loops that can catch on something
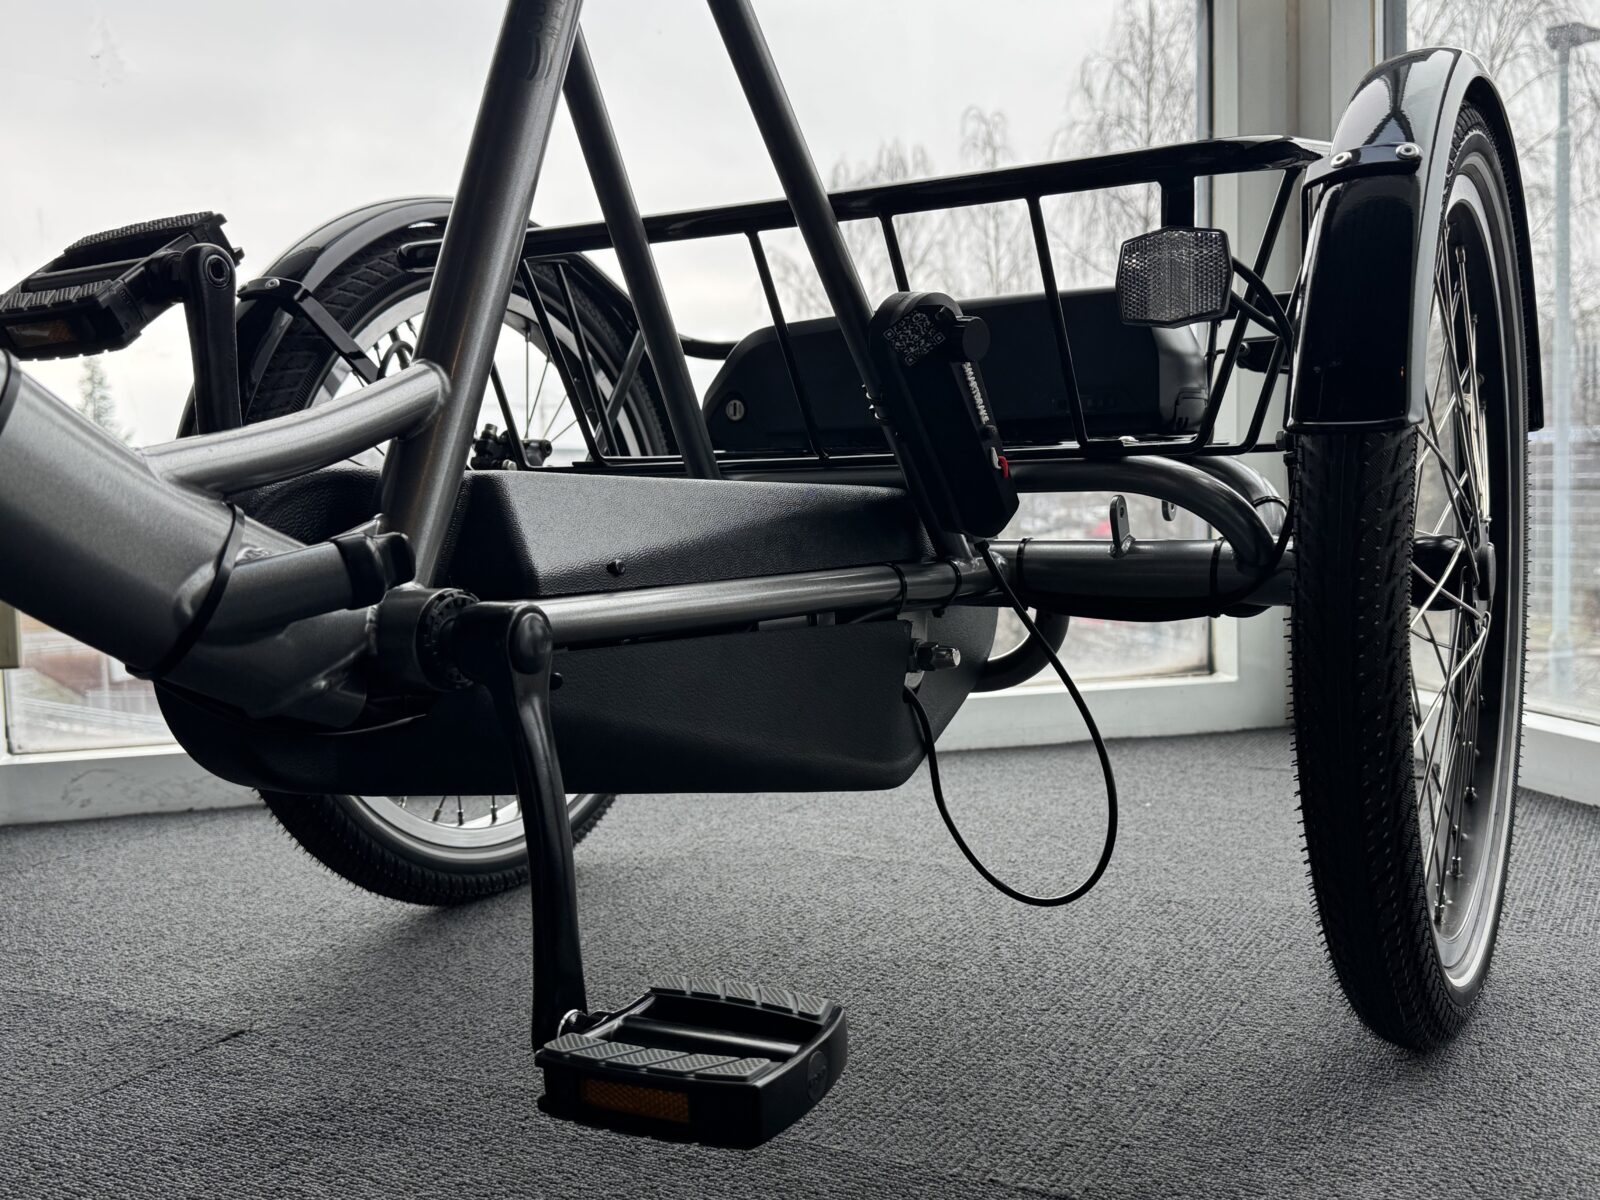
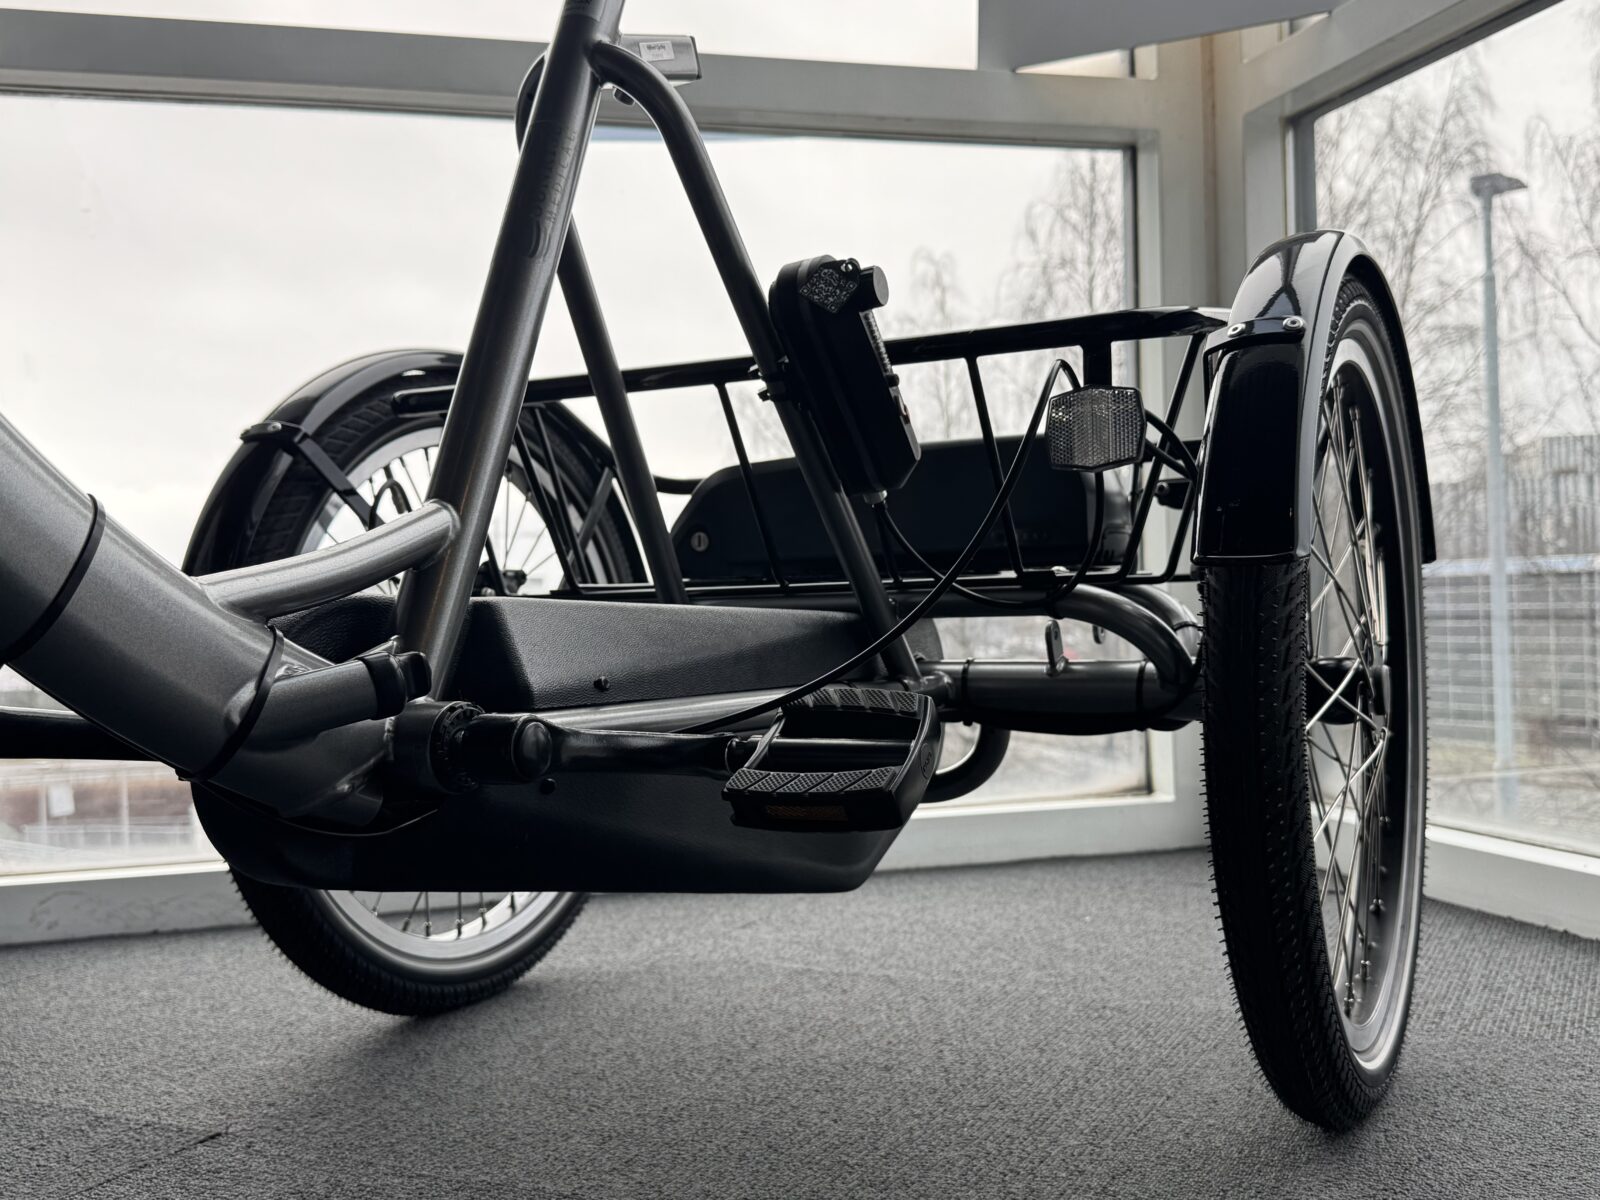
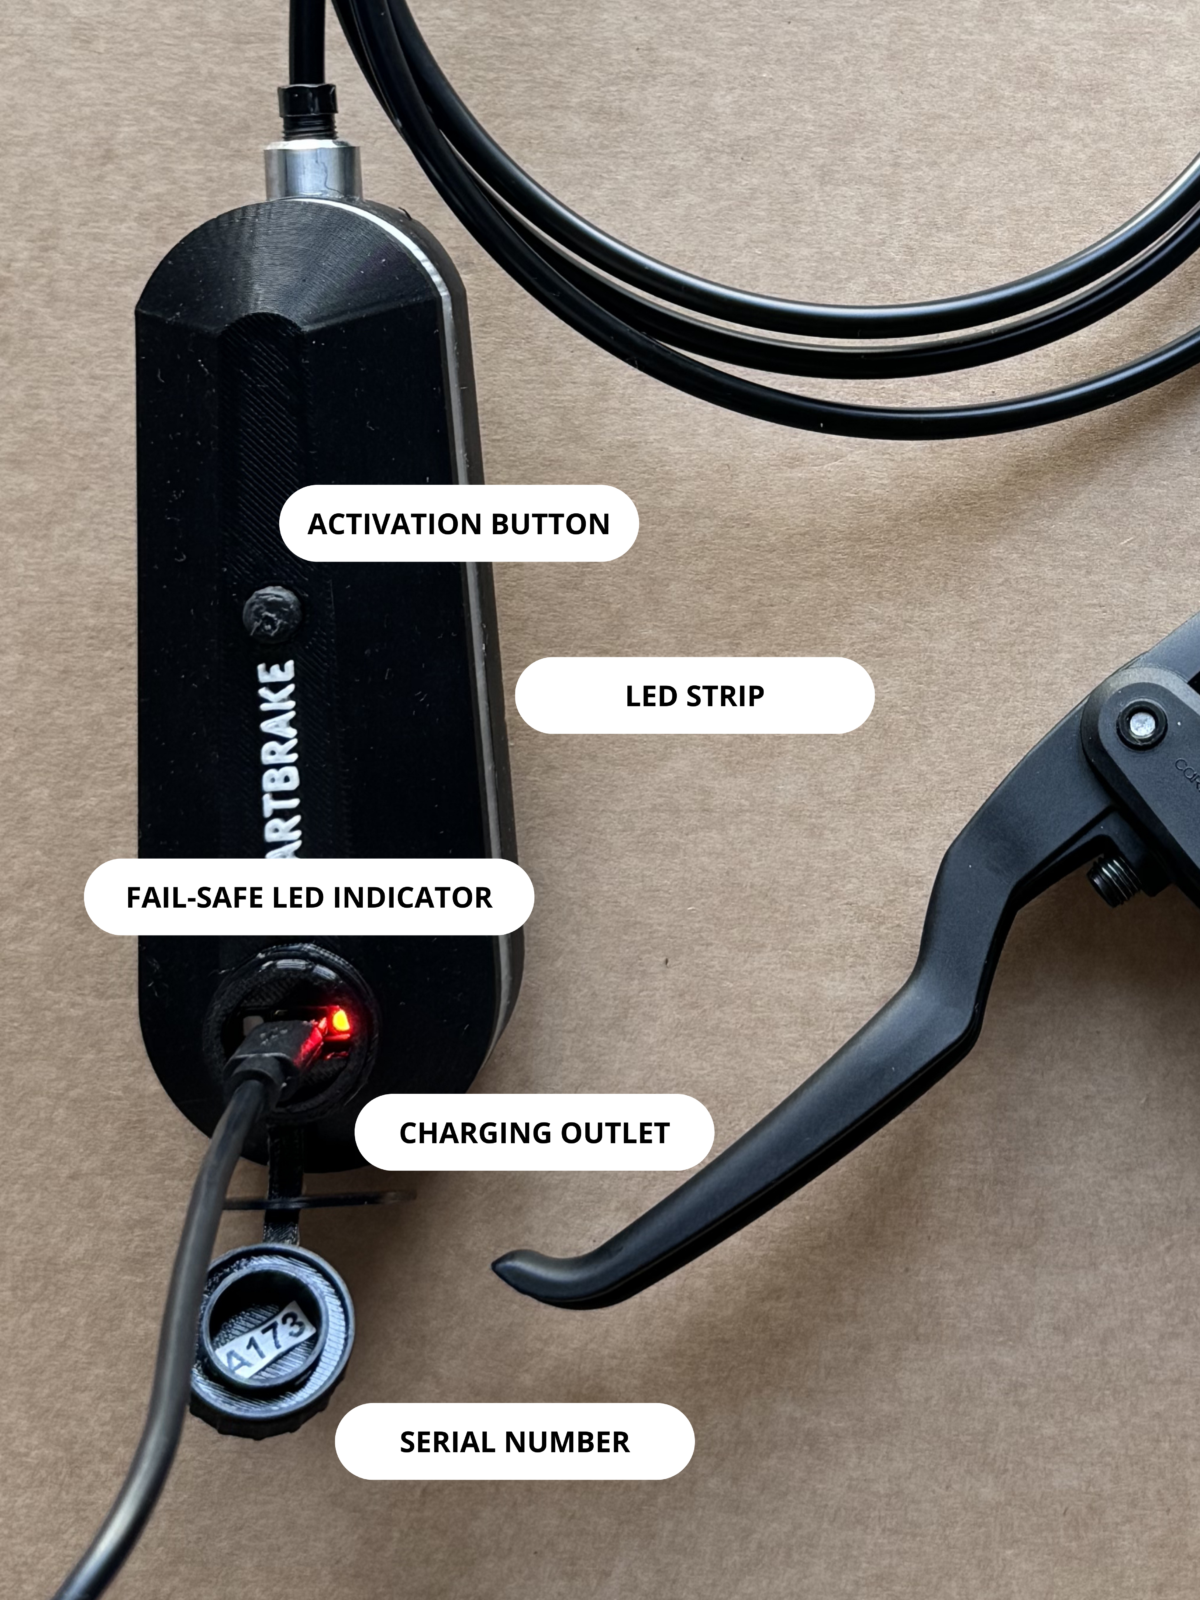
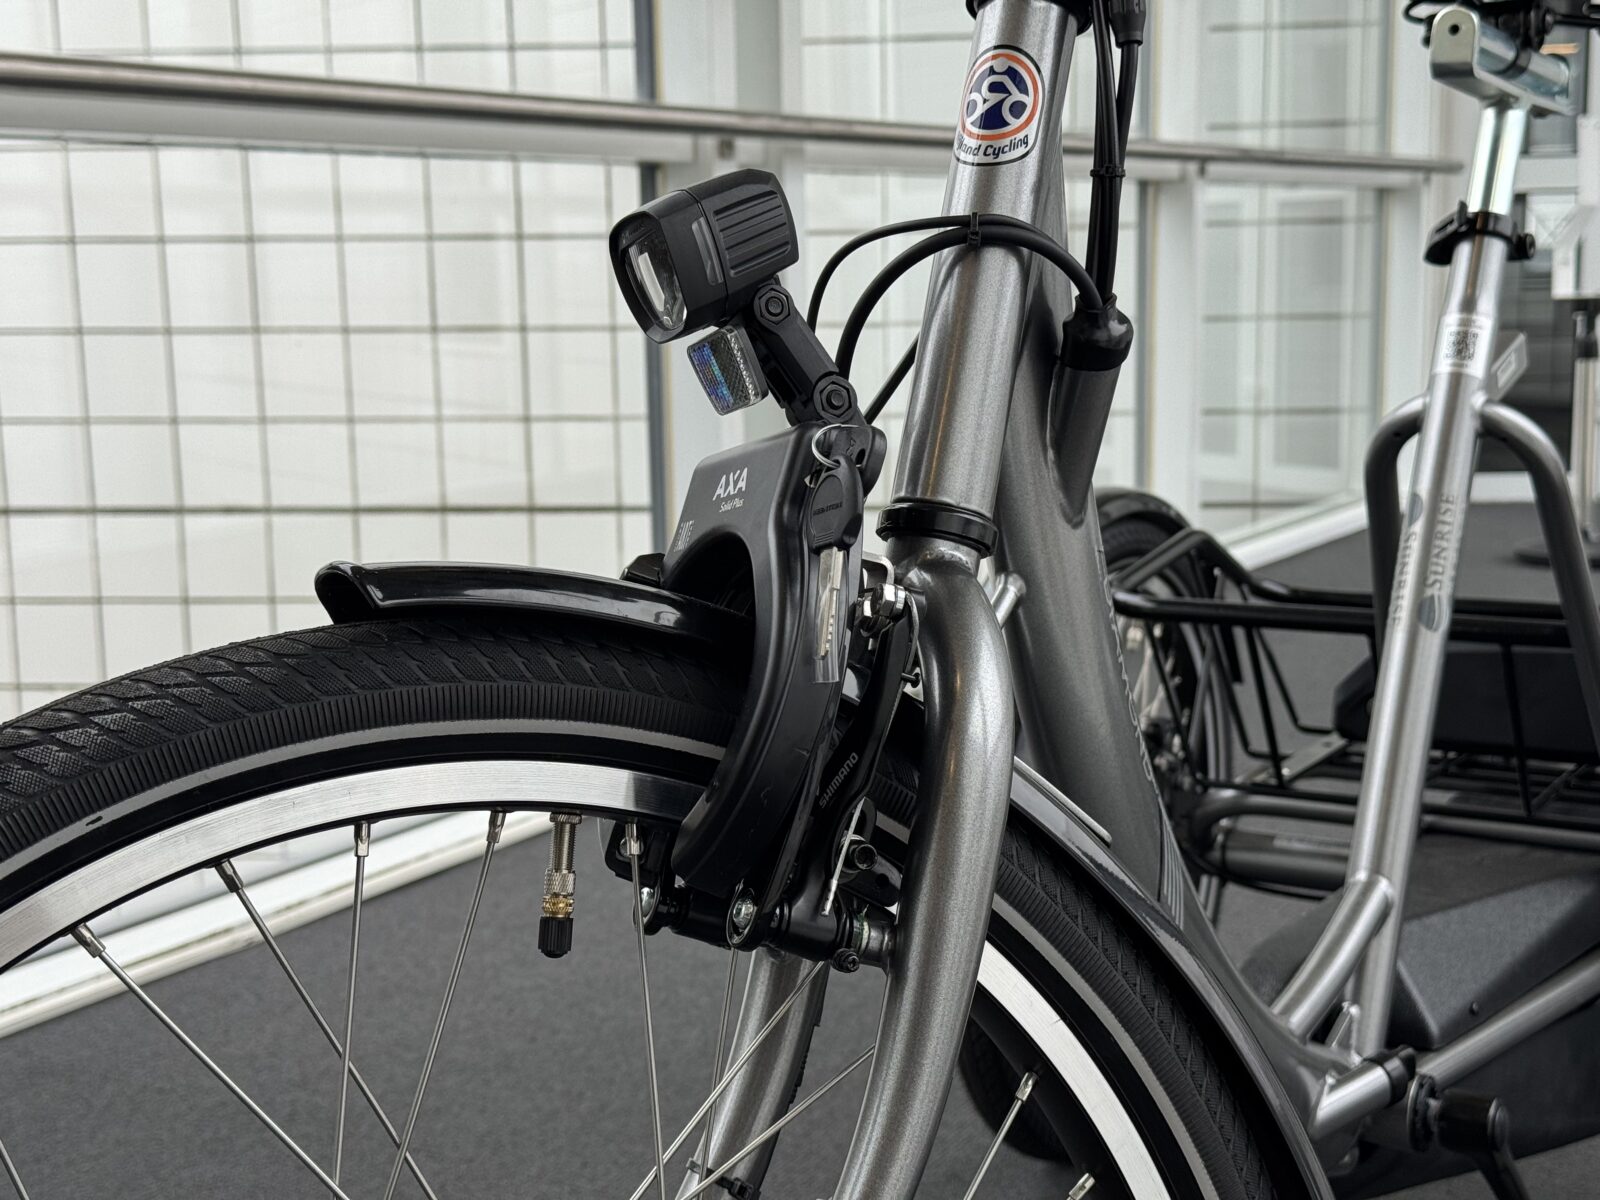
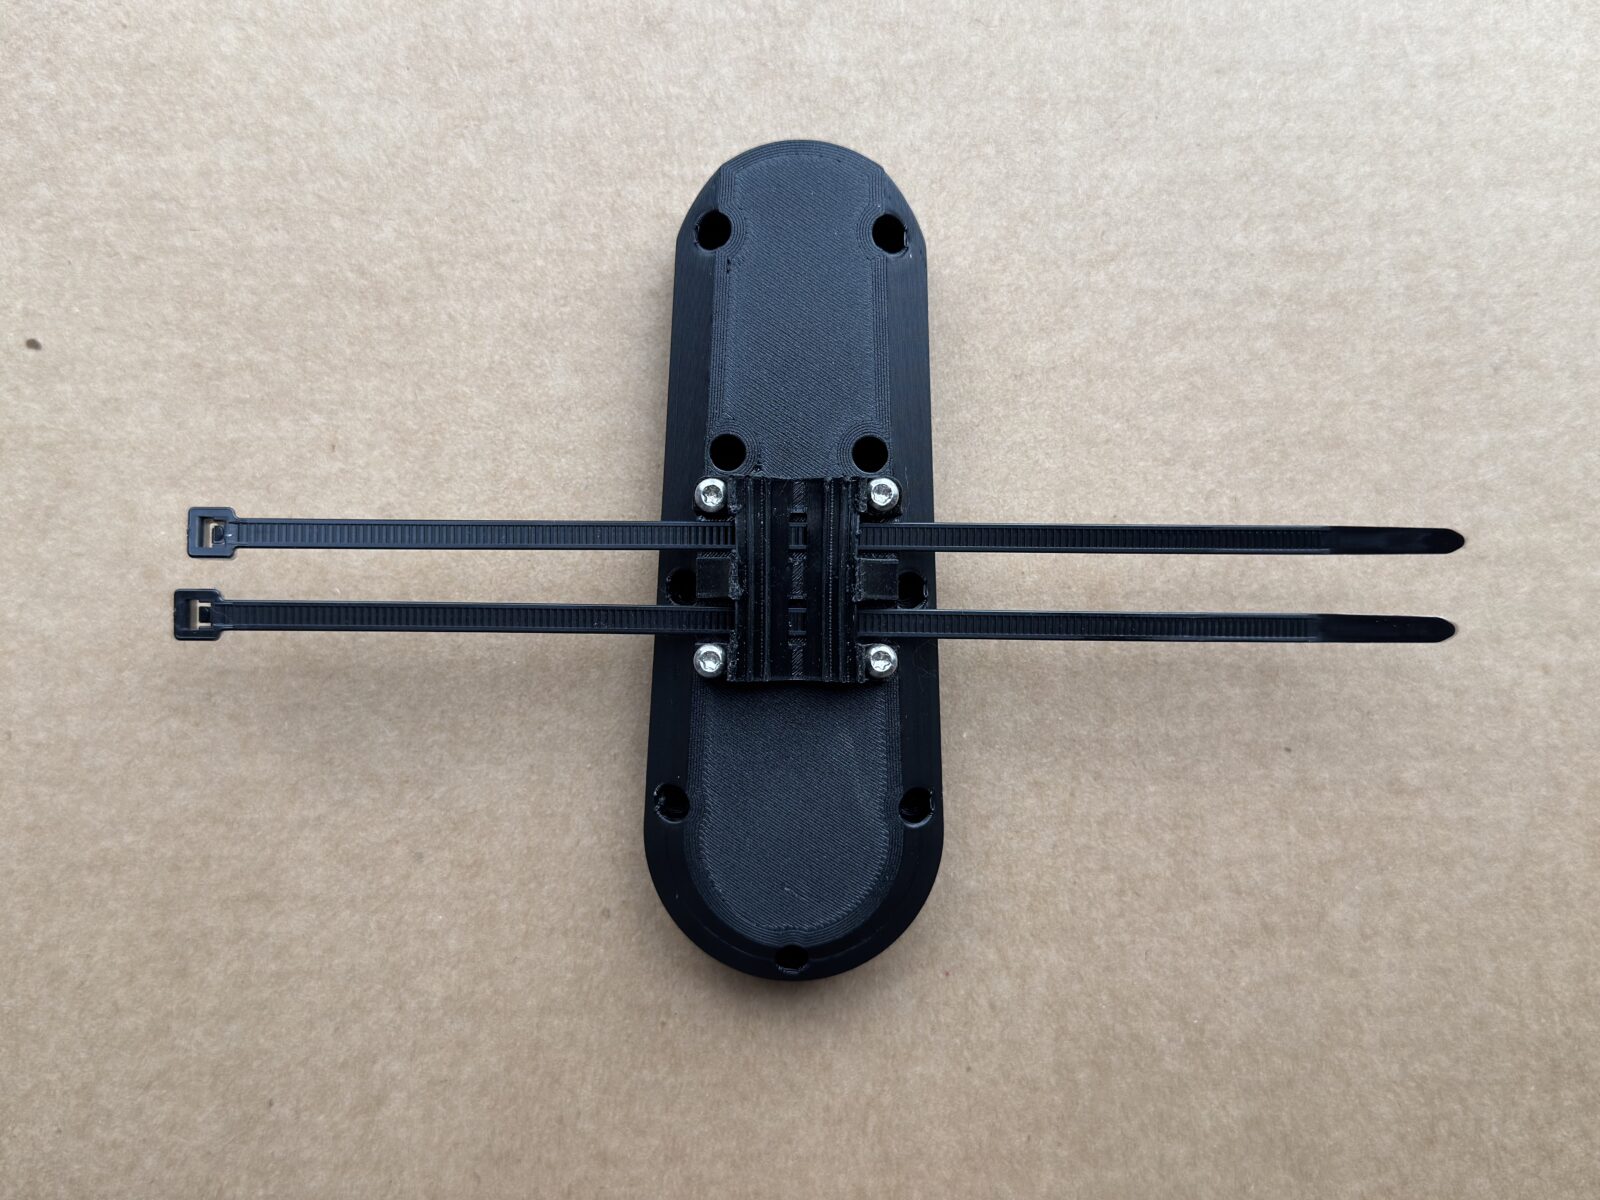
5. Mount the SmartBrake unit
Place the SmartBrake unit where it is:
- protected
- easy to access for charging
- clear of pedals and steering
- suitable for neat hose routing
- at least 15 cm away from a bicycle battery
The brake unit can be mounted in any orientation upside down or sideways. When possible, it is often placed at the rear of the bicycle. This is because the brake lights also act as a signal to the companion that the brake is being activated remotely.

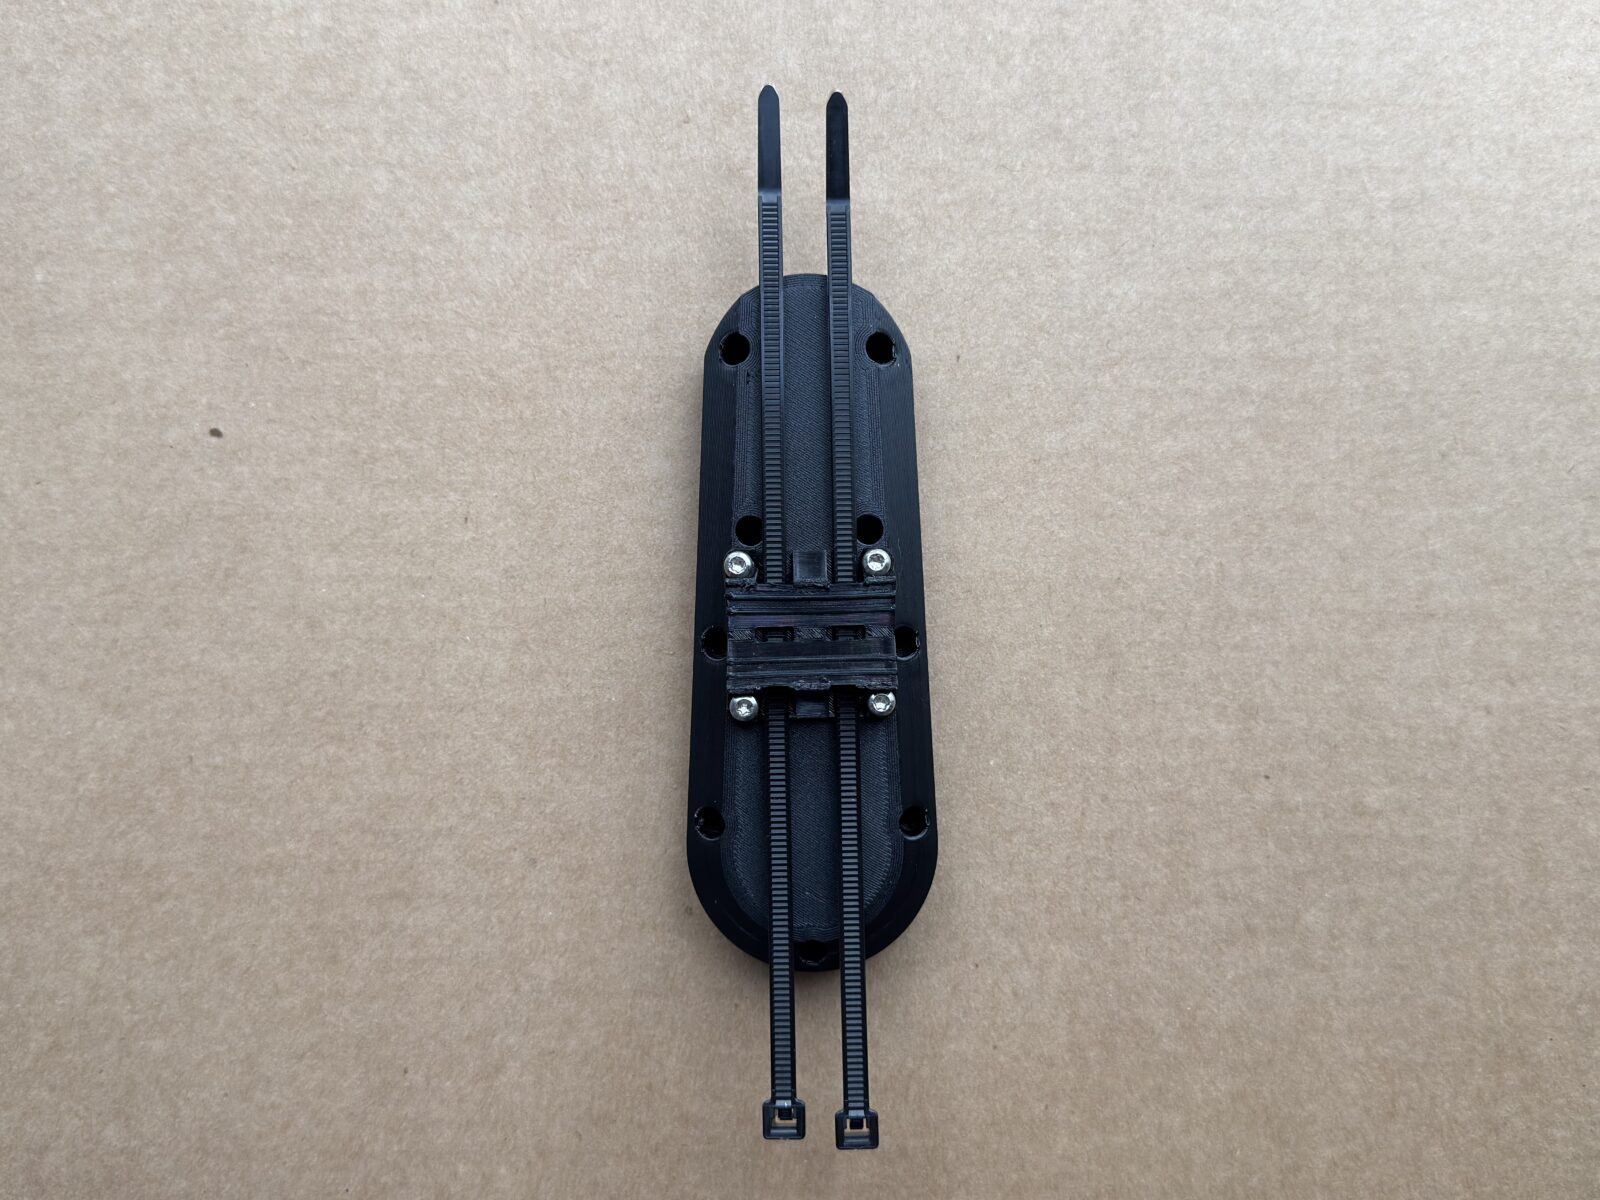
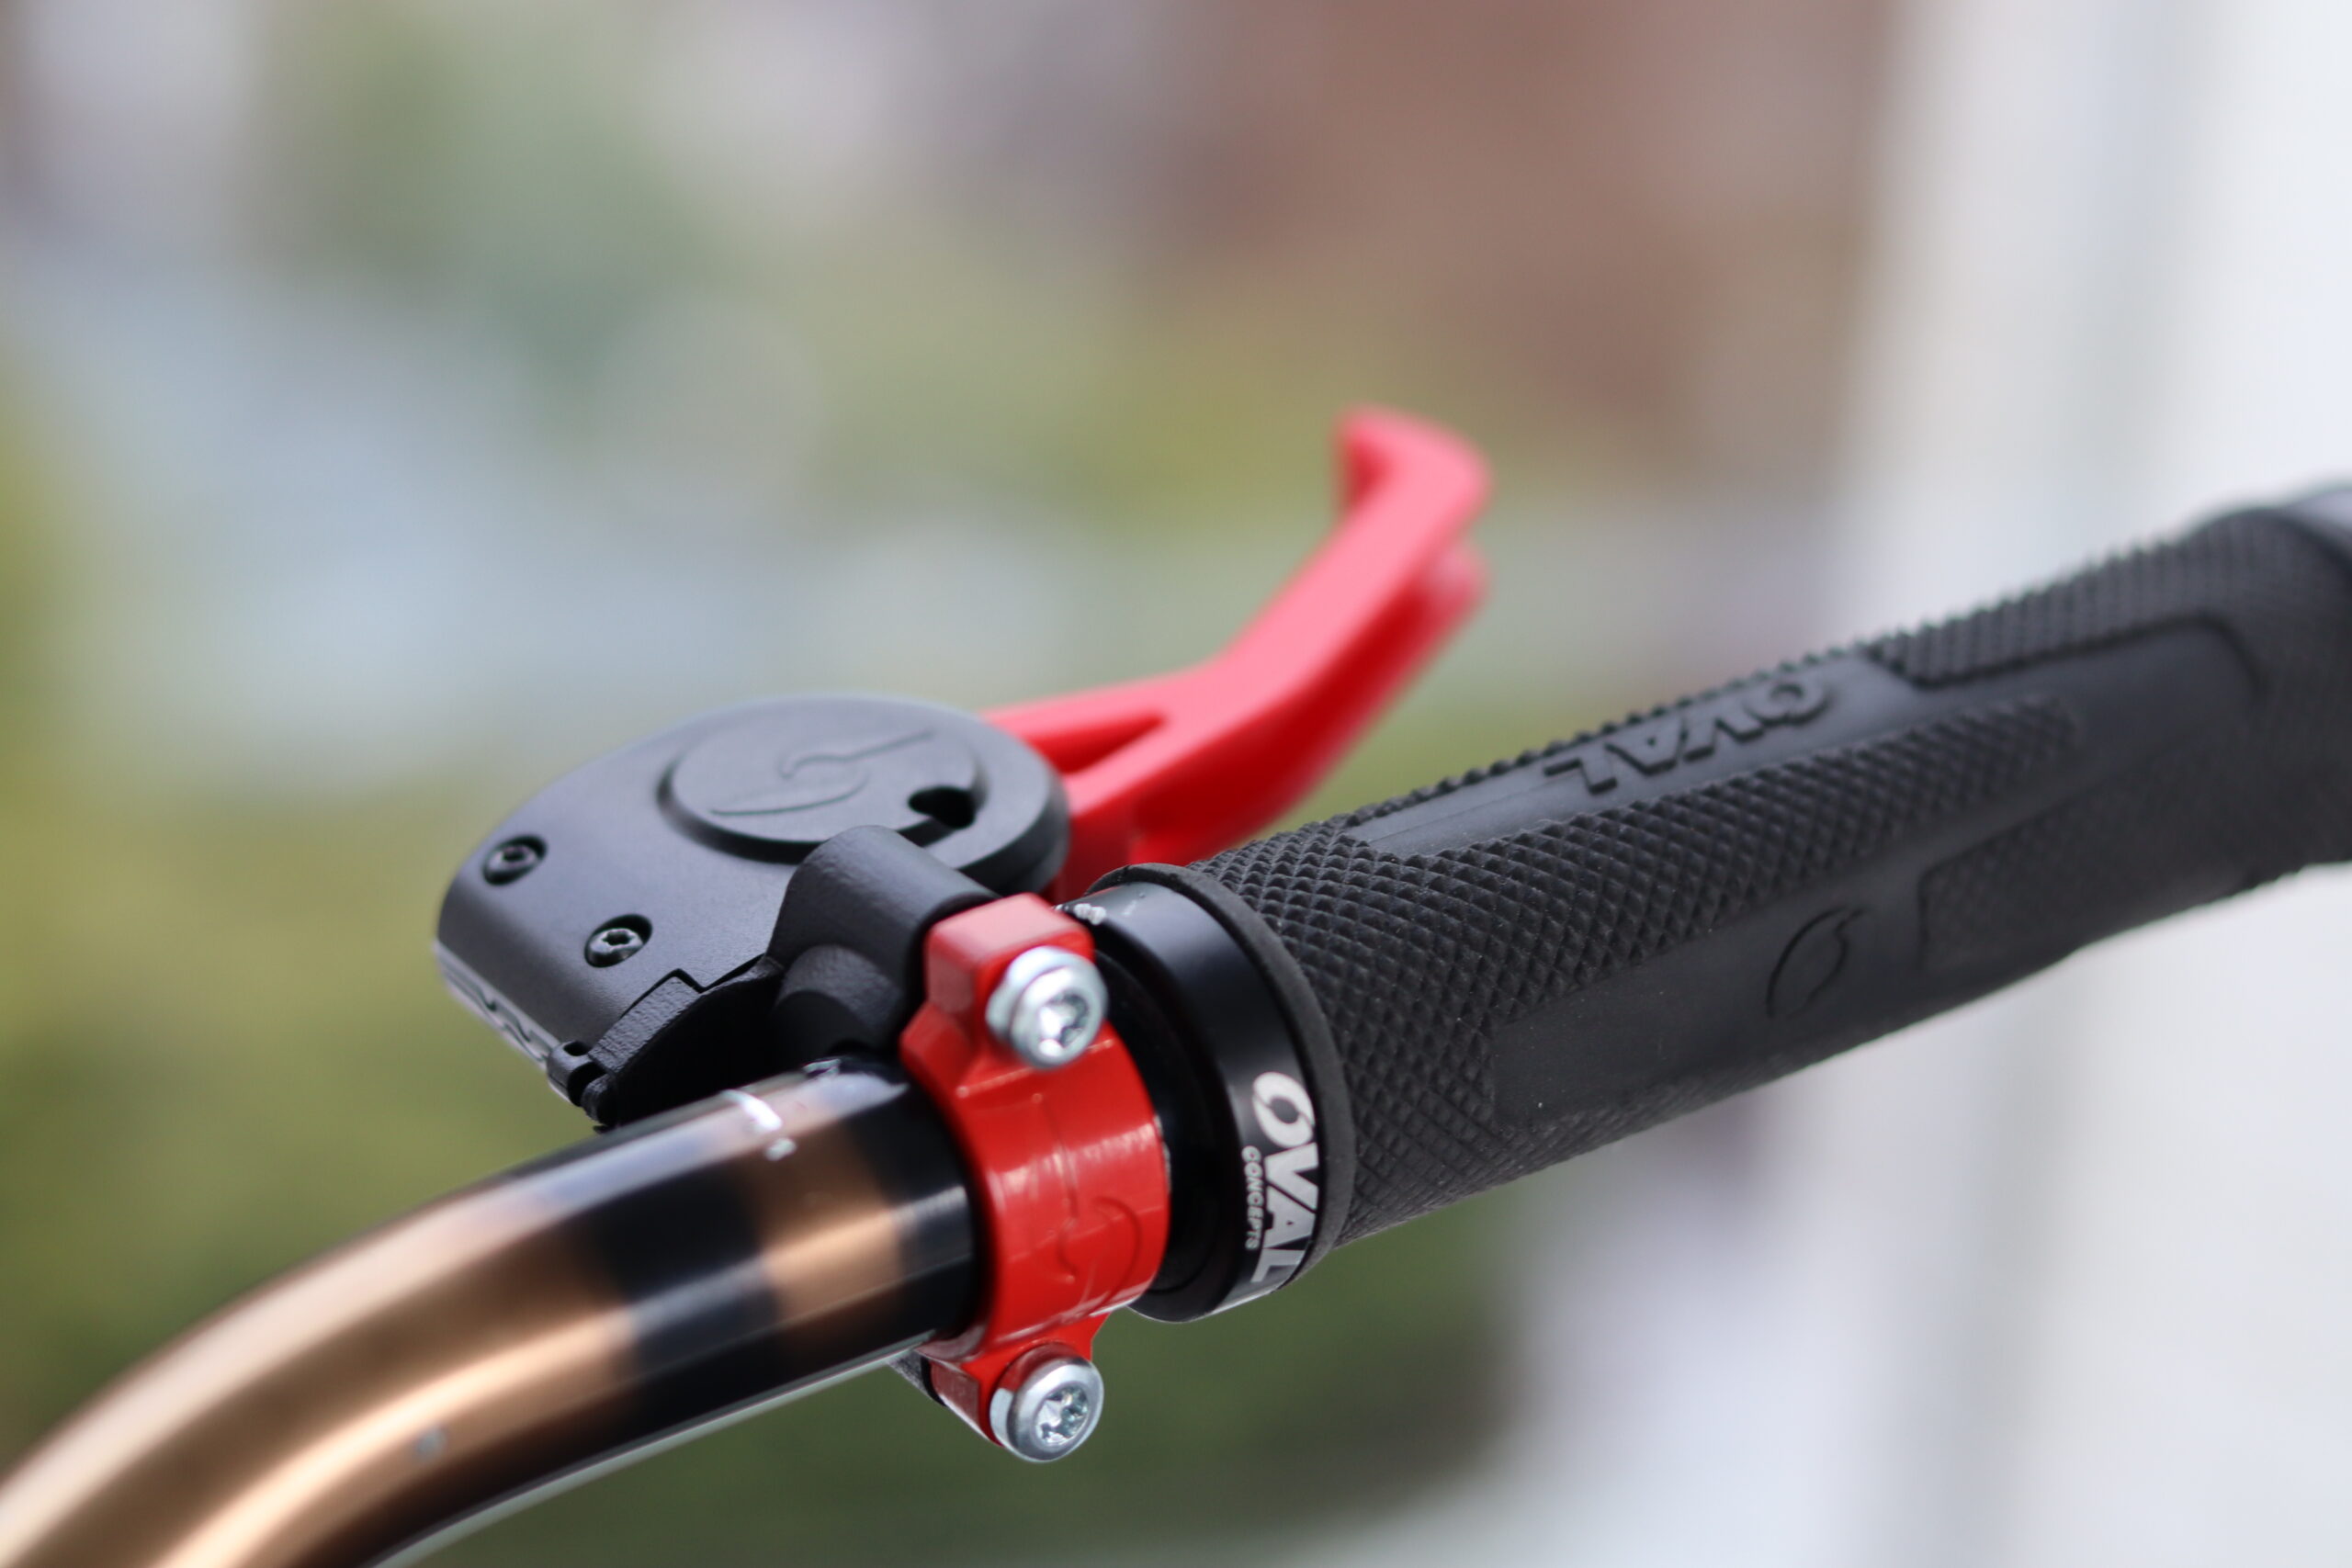
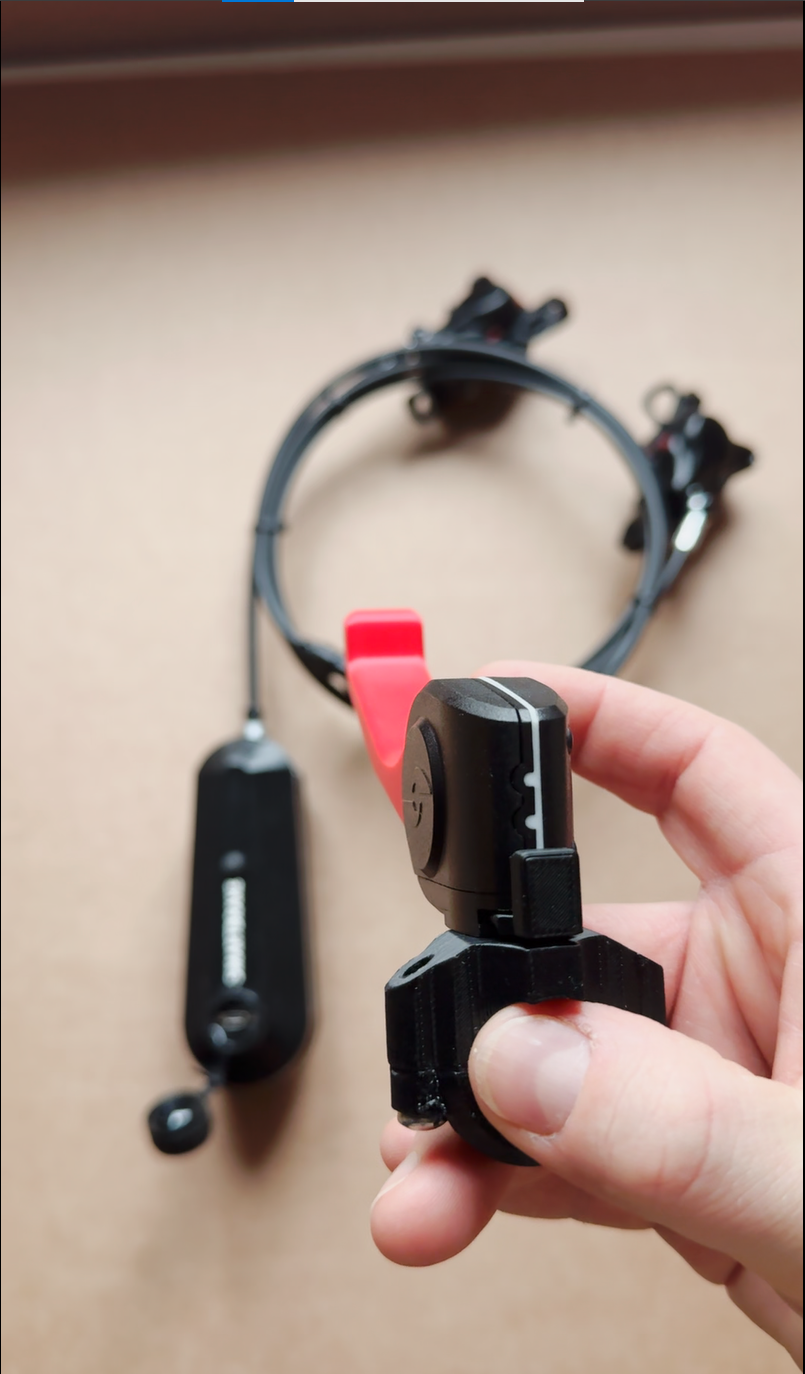
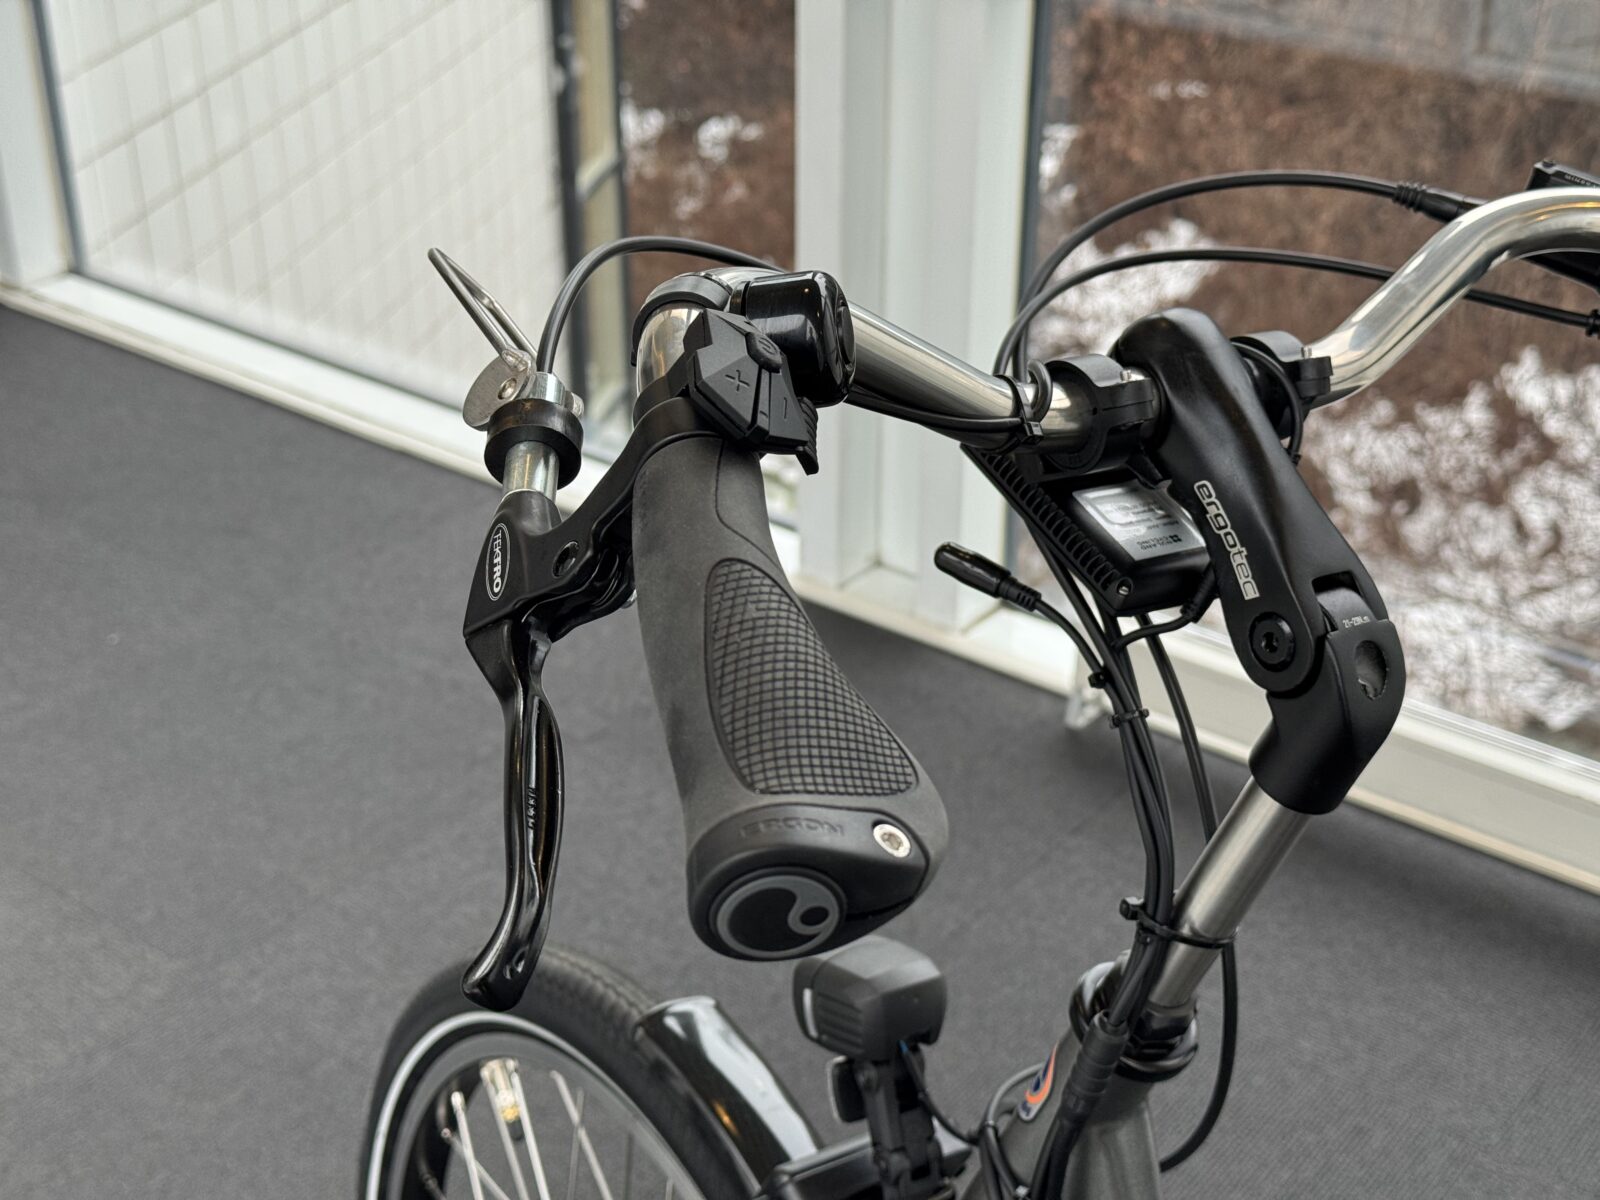
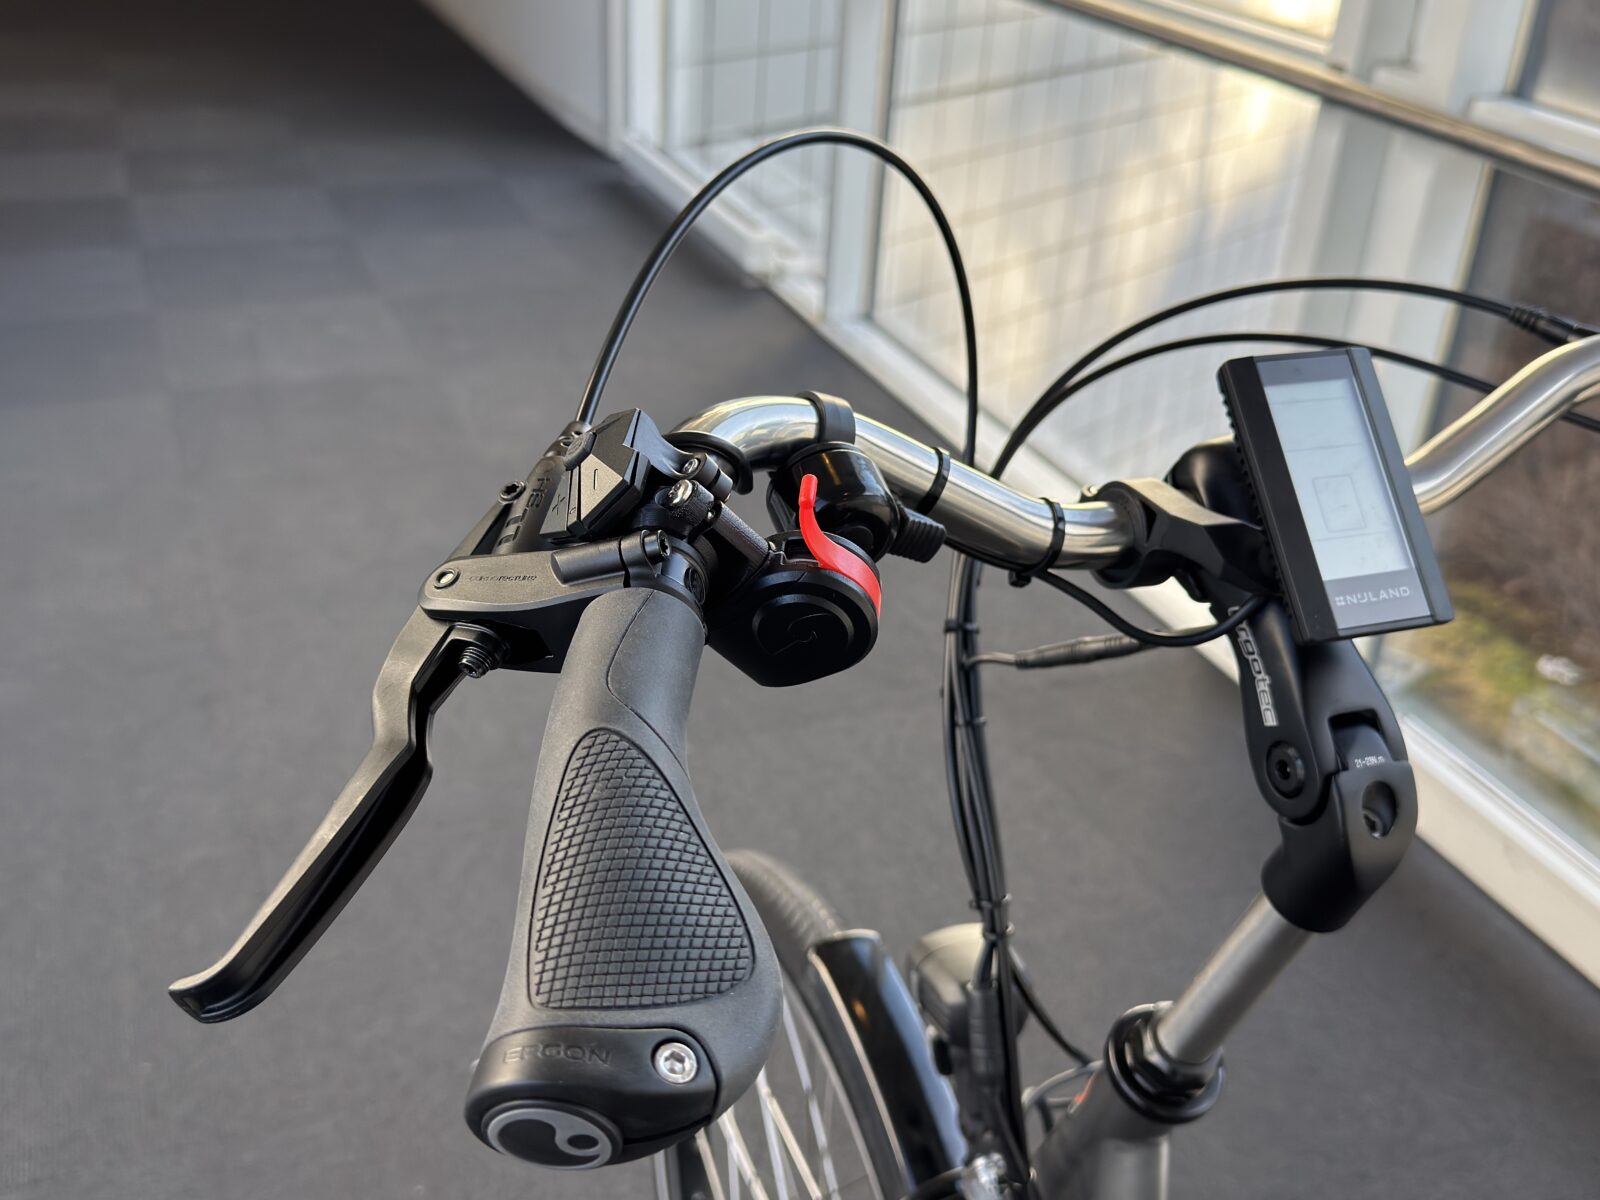
6. Mount the controller(s)
Mount the controller in a stable and ergonomic position for the cyclist or companion. The Hand Controller is supplied separately together with the instruction booklet and the charger.
7. Pair only if needed
Most included controllers are already paired. Only pair if:
- the controller was delivered separately
- the controller does not connect correctly
- troubleshooting indicates that pairing is necessary
Hold down the button on the brake lever for about 10 seconds until the brake light stays on. Pull the lever or press “Brake” on the Hand Controller. When the brake light turns off, the controller is connected.
Connect a remote
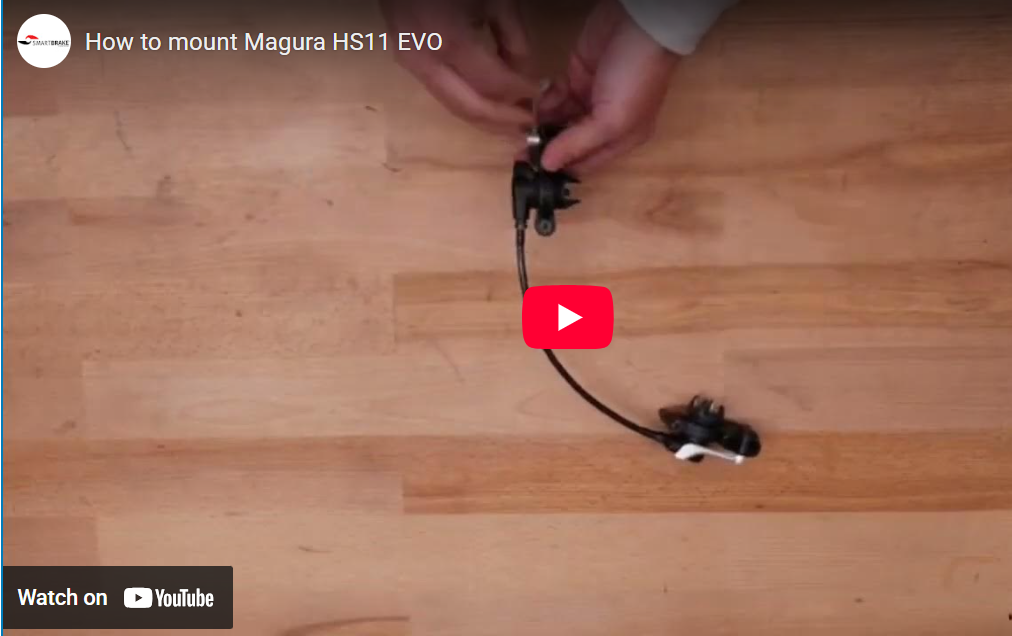
8. Adjust the brakes
Before delivery, you must adjust the brake pads as close to the disc or rim as possible without rubbing.
If the brake pads are too far away, SmartBrake must use more movement to bring the pads into contact with the brake disc or rim before braking begins. This results in slower response and weaker braking performance. For best function, the distance should therefore be as small as possible without the pads rubbing.
The video shows how the pads can be adjusted closer by changing the pressure in the hose on the Hybrid kit.
9. Perform the final inspection
Always carry out:
- a static braking performance test
- a low-speed test
- a hard stop test in a safe area
If the brake is slow or weak, you must readjust it and test again before the bicycle is delivered.
